


DIY Floating Wood Shelf: An Easy Weekend Project
Want to add stylish storage to your home without spending a fortune on store-bought décor? A DIY floating wood shelf is an easy weekend project that can give an empty wall a warm, finished look while creating useful space for books, plants, framed photos, and everyday accessories.
The best part is that you can customize the size, stain, and finish to match your home. Whether you're decorating a cozy living room, bedroom, kitchen, or entryway, these simple DIY floating shelves can add both character and function.
What You'll Need
Before starting your project, gather a few basic materials and tools. You'll need a wooden board, wood screws, a suitable floating shelf bracket or hidden mounting hardware, a drill, measuring tape, a level, a pencil, sandpaper, and your preferred wood stain or paint.
For a more natural look, choose pine, oak, or another attractive hardwood. If you want the shelf to blend seamlessly into your décor, consider staining the wood in a warm walnut, natural oak, or darker finish.
The exact hardware you need will depend on the wall type and the amount of weight you plan to place on the shelf. Always choose mounting hardware designed for your wall and intended load.
Step 1: Measure Your Wall
Start by deciding where you want your wooden floating shelf to go. Measure the available wall space and determine the ideal length and depth.
A shelf between 24 and 36 inches long works well for many small spaces, but there is no single correct size. For a gallery-style arrangement, you can install several shelves at different heights.
Use a pencil to lightly mark the shelf position. Check your measurements twice before drilling. A level is especially important because even a slightly crooked shelf can be noticeable once decorative items are placed on it.
Step 2: Prepare the Wood
Once you have your measurements, cut the board to your desired length or have it cut at your local hardware store.
Sand the entire surface, paying particular attention to rough edges and corners. Start with medium-grit sandpaper and finish with a finer grit for a smoother surface.
Next, apply your chosen stain, paint, or clear protective finish. Allow the wood to dry completely according to the product instructions before installation.
This is where you can make your floating wood shelves feel truly custom. A natural finish creates a warm, organic appearance, while painted shelves can complement a modern or minimalist room.
Step 3: Install the Mounting Hardware
The mounting system is the most important part of the project because it determines how securely your shelf will hold its contents.
Locate the wall studs whenever possible and mark their positions. If studs aren't available where you need them, use appropriate wall anchors designed for the type of wall you're working with.
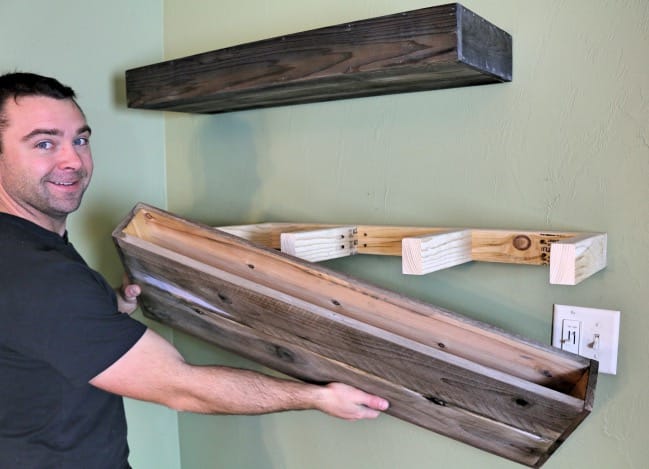
Attach the bracket or mounting hardware securely using the recommended screws and hardware. Before tightening everything completely, use your level to make sure the mounting surface is perfectly straight.
Avoid relying on appearance alone. A shelf may look level from a distance but still be slightly tilted.
Step 4: Attach the Floating Shelf
Once the hardware is securely installed, carefully position the wooden board over the mounting system. Depending on the bracket design, you may need to slide the shelf onto mounting rods or secure it with additional screws from underneath.
Check the shelf with your level one more time before placing anything on it.
Give the installation a gentle test before adding décor. If the shelf moves, shifts, or feels unstable, remove the load and inspect the mounting hardware.
Step 5: Style Your New Shelf
Now comes the fun part: decorating your new floating shelf.
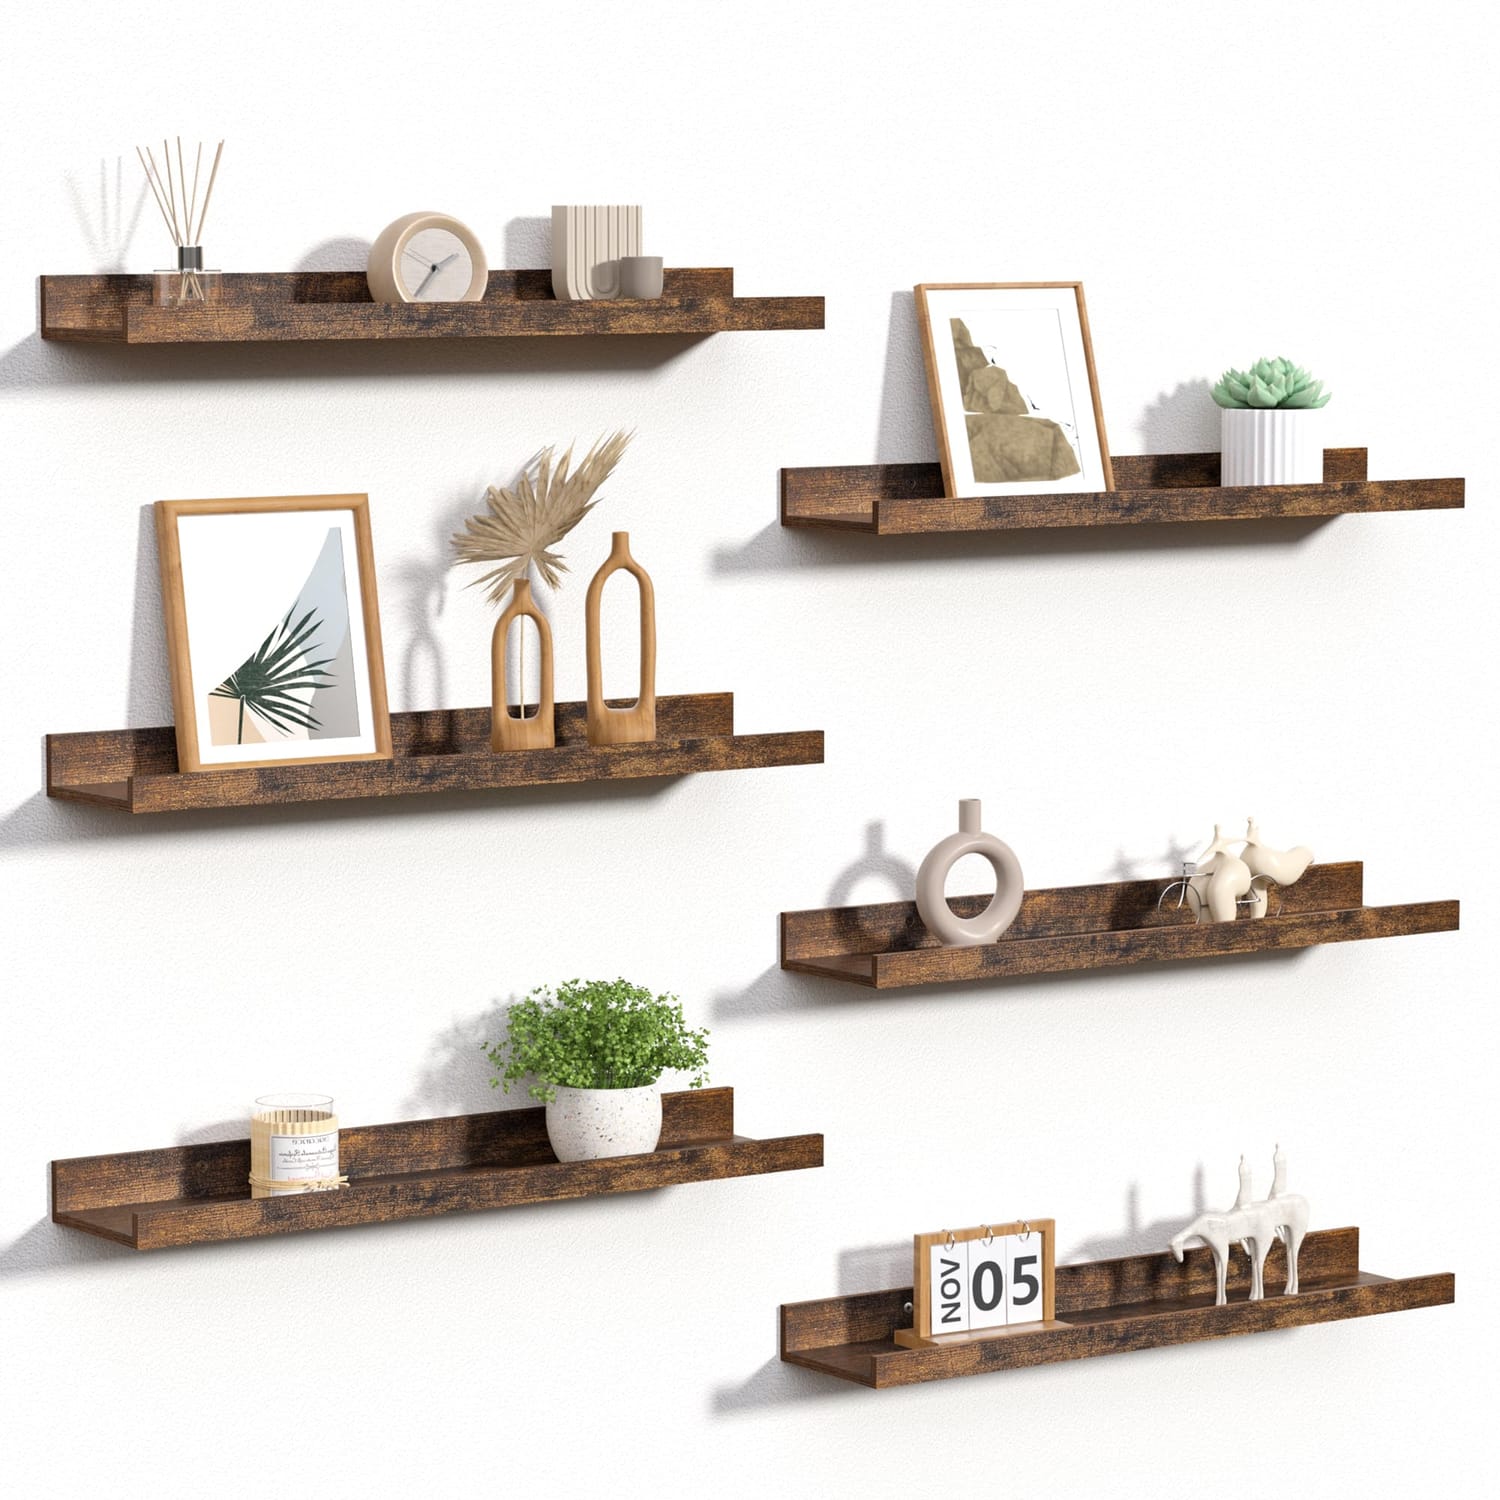
Start with one larger item, such as a framed print, vase, or small plant. Then add smaller pieces around it. Books, candles, baskets, ceramics, and family photos can add texture without making the shelf look cluttered.
For a cozy home aesthetic, mix natural wood with neutral décor, greenery, woven accessories, and warm-toned accents. If you're installing multiple floating shelves, leave some open space between objects so the arrangement feels intentional.
Why DIY Floating Shelves Are Worth It
One of the biggest advantages of making your own shelves is flexibility. You can choose the exact dimensions, wood finish, and placement instead of trying to find a ready-made shelf that fits your space.
DIY floating shelves are also a practical way to use vertical wall space in smaller homes. They can provide storage without taking up valuable floor space, making them especially useful in apartments, bedrooms, kitchens, and narrow entryways.
With a few basic tools and careful measurements, you can create attractive wooden floating shelves that look custom-made without the custom price tag.
A quick safety note
Before installing your shelf, always confirm that the wall, mounting hardware, and shelf construction are appropriate for the intended weight. Once securely installed, your new shelf can become one of those small home improvements that makes the entire room feel more organized, warm, and complete.
Let us know what you think in the comments!


Created with ©systeme.io